-
OK folks. Here’s my thread on technology for teaching online.🦠 I’m not an expert, but I’ve got some thoughts. My goal is to cover a few things you might consider if you’re trying to quickly get an existing course online. And my focus is on technology, not pedagogy. 1/ @lukestein/1226985053424508928
-
Plan: ① Streaming/recording software ② Basic hardware ③ Presentation software ④ Advanced hardware ⑤ Tips and tricks I’m not going to cover discussion forums, homework, etc. Your students probably already use an LMS (Blackboard or Canvas) and I’d stick with that for now. 2/
-
① STREAMING/RECORDING SOFTWARE Key question is teaching synchronously (live) vs recorded. Synchronous teaching should still get recorded for later, but ANY live viewing—and especially live interaction—requires particular software. Recording? You have much more flexibility. 3/
-
If you’re live, I’d recommend whatever your school uses, if anything. Students will be more familiar, and you’ll have tech support. Most likely, this is either @zoom_us or @Webex, with integrated chat, polling, hand-raising, etc. Many good tips here: @Susan_Athey/1236335681879691264 4/
-
For recording, you have lots of choices. Here are two I like: @powerpoint and @OBSProject - Powerpoint lets you record narration and annotations in-app. These recordings go with each slide, so you can re-do one slide, reorder slides, etc. You then export a video file to post. 5/
-
- @OBSProject is free/opensource software. It’s not hard to use, but there’s a bit of a learning curve. The focus is one start-to-finish recording; if you want to make changes, you need to use separate video editing software. 6/
-
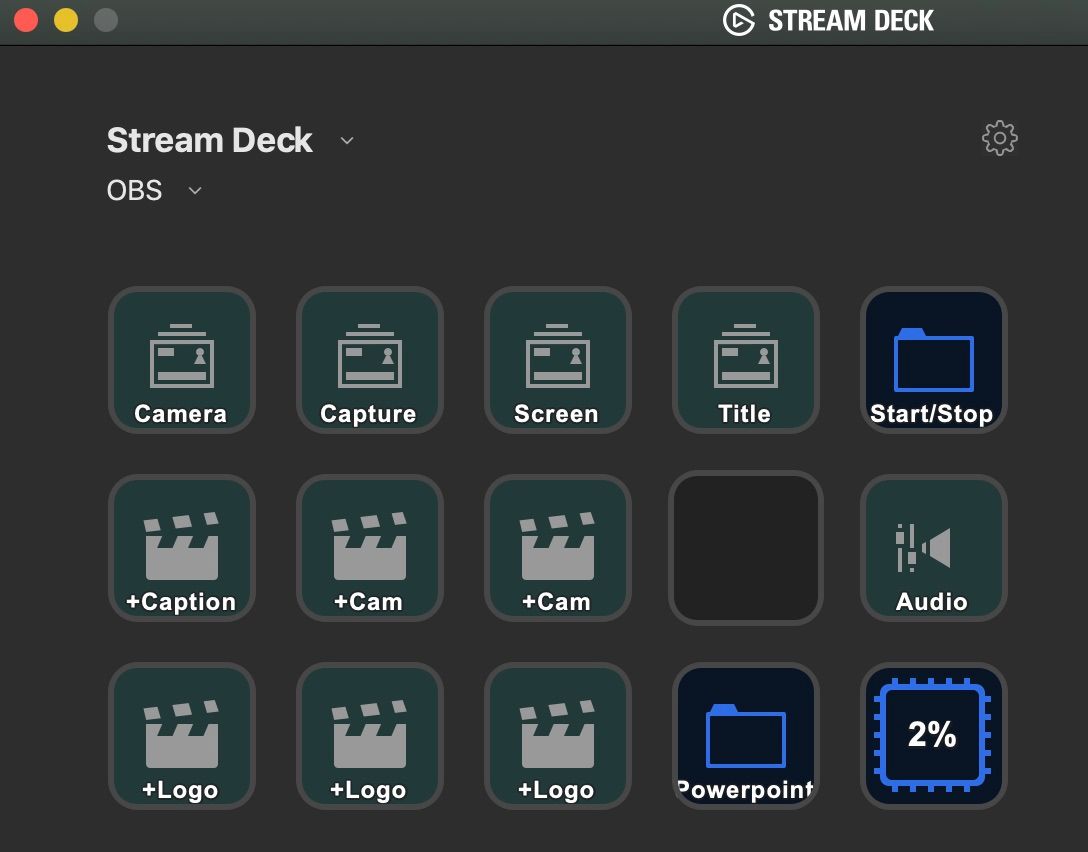
OBS’s killer feature is the ability to easily switch between “scenes” (e.g., camera, slides, slides with camera overlay, whiteboard, etc.) OBS can also simultaneously stream live via YouTube, Twitch, etc. Even if you don’t use it, this can be good as an online backup. 7/
-
② BASIC HARDWARE You need audio (microphone and headphones) and video (webcam). AUDIO IS MUCH MORE IMPORTANT THAN VIDEO. You need headphones, but you already have headphones. The most important thing is a decent microphone. Your students will thank you. 8/
-
Some people like a headset mic. I prefer a desktop microphone. Experts have very strong opinions. I like a dynamic (rather than a condenser) mic, which is more forgiving in a room with outside noise and echo. I recommend the Samson Q2U amzn.to/2v8qAkg for ~$55. 9/
-
If you’re using a laptop, the built-in webcam is probably OK, but you NEED to lift your laptop to get a decent angle. I use an external Razer Kiyo amzn.to/3cEZZvQ . Wirecutter has thoughts thewirecutter.com/reviews/the-best-webcams/ . But don’t sweat it. Audio is much more important. 10/
-
I find it’s *much* better to have two (or three, tbh) displays rather than one. This lets you run your slides off one monitor and your streaming/recording software on another. Fancier solutions include a second computer or an iPad. More on this below. 11/ —Break time. TBC.—
-
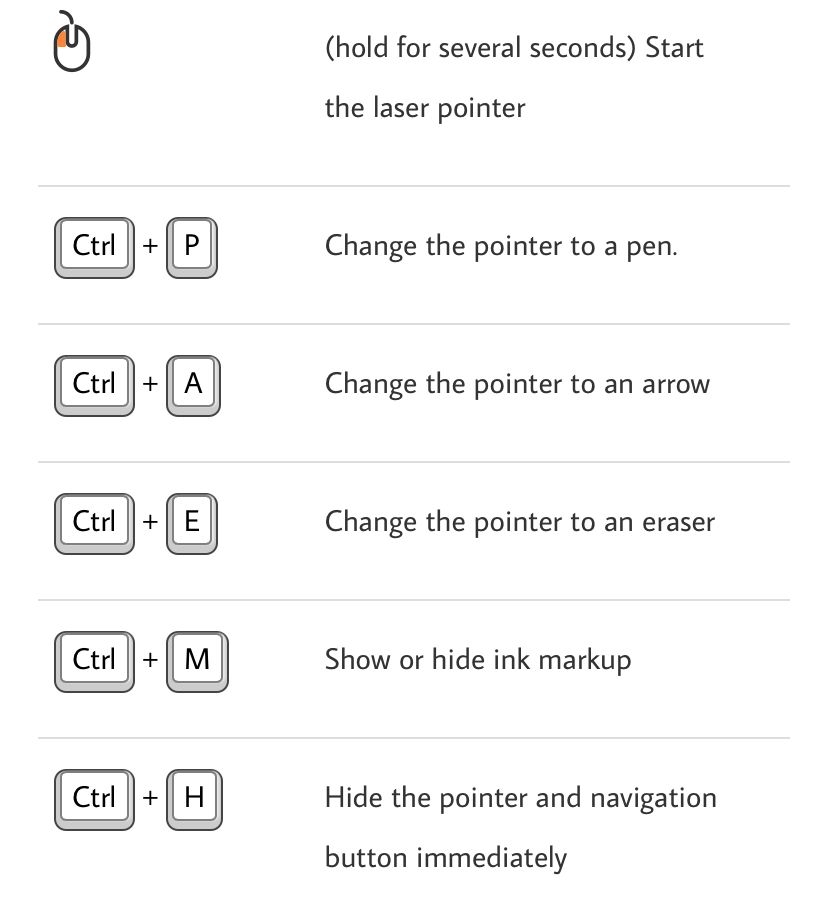
③ PRESENTATION SOFTWARE I use @powerpoint for teaching. It has built-in tools for doing a “laser pointer” and ink annotations. (You can put a sticky note on your monitor with keyboard shortcuts 👇.) The most important shortcut is “W” which gives you a “whiteboard.” 12/
-
I often like to use Excel in class, so I’ll have that open in the background. Or a webrowser. As long as you’re sharing/recording a *screen* rather than a *window*, it’s easy to switch from slides to Excel and back. This is a real advantage to having multiple monitors. 13/
-
I don’t have a recommendation for presenting/annotating PDFs, but I’d like one. Any ideas, preferably for Mac, but others may be interested in PC. Or iPad (see “advanced hardware” below for using an iPad)? 14/
-
PowerPoint’s “W” keyboard shortcut is good for a transient whiteboard, but if you want something more permanent, the easiest thing is just to add a few blank white slides to your slide deck. Otherwise, you can just have a second PowerPoint open that’s just blank slides. 15/
-
Finally, if you really rely on whiteboard/annotations—I do—you’re not going to want to “draw” with your mouse or trackpad. More below (“advanced hardware”) on different ways to draw with a pen. 16/
-
④ ADVANCED HARDWARE More complicated, but a few options to consider. First, if you want to “draw” without having to use a mouse/trackpad, consider: - A “drawing tablet.” @wirecutter/1023531161732227073 - A “convertible” laptop (an external webcam and monitor will be essential) 17/
-
(Drawing/annotation, cont.) - Pointing your webcam at an actual whiteboard, or at a piece of paper! If you really want to do this, you can also use a second, separate webcam (or a document camera); @OBSProject supports multiple cameras, but other software probably doesn’t. 18/
-
(Drawing, cont) - Using your iPad as an external monitor! This is awesome if you have a reasonably new Mac and iPad, and setup is *super* easy (it’s called Sidecar, and is built into MacOS and iPadOS support.apple.com/en-us/HT210380 ). You can draw with your finger or an Apple Pencil. 19/
-
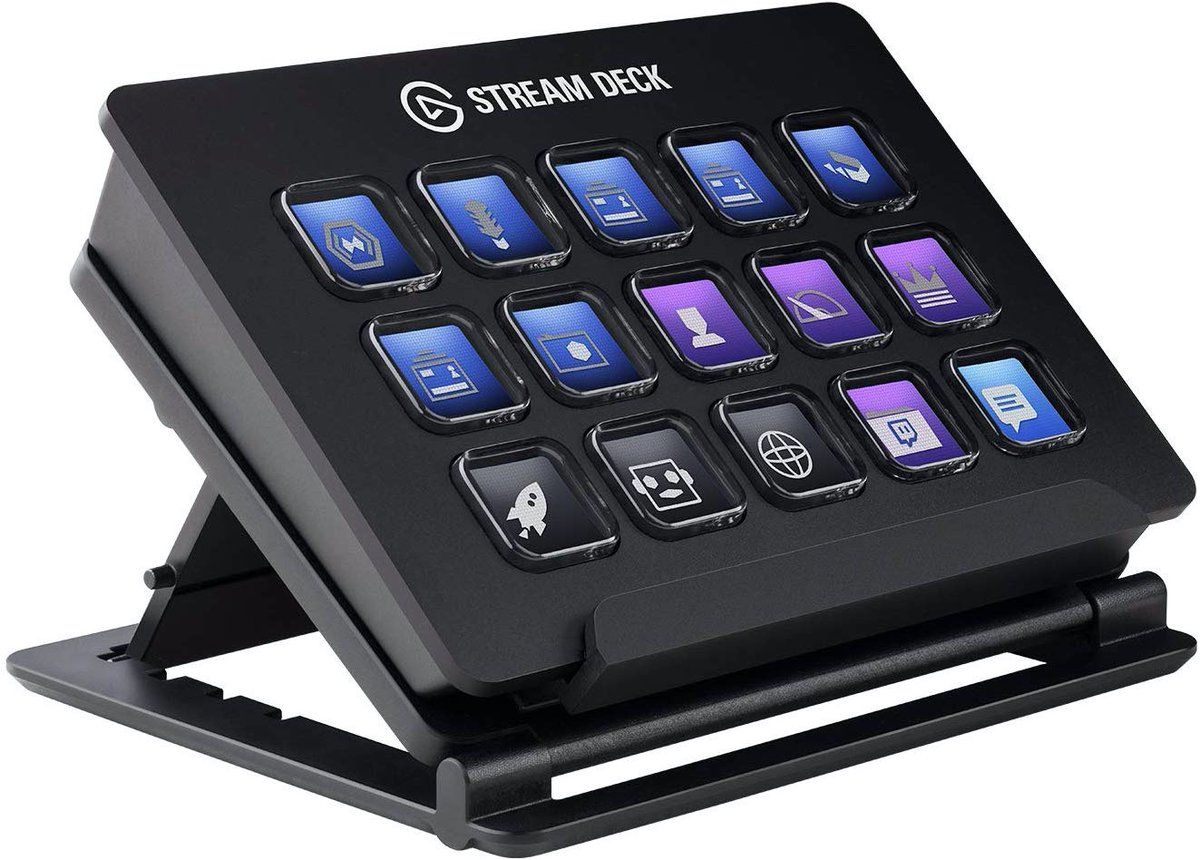
Second, if you want an easy way to switch inputs/scenes (i.e., camera, slides, slides with camera overlay), consider an Elgato Stream Deck amzn.to/2wDqb9I . This is a luxury, but a nice one. It’s basically just a super-customizable second keyboard. 20/
-
Third, if you’re really willing to make things more complicated, you can run a dual-computer setup. This is where I’ve wound up for recording, but there are a *lot* more moving pieces. 21/ @BillWinterberg/1220354460834304003
-
This means running the presentation on one computer, and the webcam and streaming/recording on a different computer. (You need a piece of hardware called a capture card to do this.) 22/ @lukestein/1227017139548082182
-
Dual-computer details are a bit beyond this thread, but once you get it running it has some real advantages. Among others, the two computers get separate keyboards/mice, so you can manage recording/streaming (incl. student interaction) without screwing up your presentation. 23/
-
⑤ TIPS AND TRICKS A grab-bag: - Ethernet is better than Wifi. - Keep your laptop plugged into a power outlet. - Turn off notifications on your computer. Move the files off your desktop. Hide your browser tab bar and bookmarks bar. 24/
-
(tips, cont.) - If you’re recording, record in high quality (hard drive space is cheap!) I then convert to lower quality before uploading using the free, open-source HandBrake handbrake.fr 25/
-
(tips, cont.) - If you are trying to manage live student interaction (e.g. questions, text chat, polls), consider having a teaching assistant be in the room with you on a separate computer. - Consider a voice recorder for redundant backup of your audio thewirecutter.com/reviews/the-best-voice-recorder/ 26/
-
(tips, cont.: Using an iPad with @zoom_us) - @AndrewZeitlin says you can log in twice, once from your PC and once from your iPad @andrewzeitlin/1236517572784402432 - @julian_finecon notes you can connect your iPad via USB @julian_finecon/1236519635014619147 Instructions: support.zoom.us/hc/en-us/articles/201379235-Screen-Share-iPhone-iPad-Apps 27/
-
A very nice thread from @EmilioC_ that offers some complementary tech suggestions, and also good pedagogy tips @EmilioC_/1236372160739934215 ✔︎ Ethernet ✔︎ Multiple monitors ✔︎ Graphics tablet ✔︎ @OBSProject 28/
-
Two short threads from @andreamatranga on easy ways to optimize a room for recording/streaming: - Lighting @andreamatranga/1236544126717284353 - Acoustics @andreamatranga/1236755557421166592 . Andrea mentions lavalier (i.e., shirt-clip) mics, but my limited experience is that cheap lavs aren’t great /29
-
In this thread’s very first tweet, I noted I’m not an expert, and my focus was on technology, not pedagogy. Here’s the digital pedagogy thread you’re looking for (from an expert, @slamteacher): @slamteacher/1236036921488367616 30/
-
Here’s another great (expert) thread, with a link to @Jenae_Cohn and @beth_seltzer’s detailed suggestions (Google Doc). The suggestions are broadly useful, but focused on a @zoom_us/@CanvasLms tech stack. 31/ @Jenae_Cohn/1236413459648008193
 lukestein’s Twitter Archive—№ 6,366

